No, I'm not dreaming of Maui with it's lovely beaches and warm weather (although that does sound nice). I'm talking about an island for the kitchen.
So here's my latest project...
I purchased a raw wood mini island from Ikea on our Denver trip (which I'm sure I already mentioned) and the reasoning for unfinished wood was so that I could make it unique. Well, I've been so inspired by the stained surface and painted legs of so many blog posts of Miss Mustard Seed, that I decided to try the style out for myself. Also, if I haven't already said so (sorry if I'm super repetitive, but I'm running on a few hours of sleep for the past couple of days), my mom is also planning on purchasing the same island! And we didn't even know about our similar interests until I got mine. Anyways, Ikea is a dangerous place and it's probably a good thing that there isn't one even remotely close!
Ok, so I started by staining to top portion of the island. I might mention that I have never stained anything...EVER! It was a bit nerve racking, but I read the instructions (multiple times) and re-read some blog posts and just dove right in. There were some Youtube videos I might have referred to that mention different types of wood, and I'm no wood expert, but it's definitely not hard wood (which is more difficult to stain according to the video). The top soaked up the stain like a boss and I only applied one coat! The picture below is after I applied the stain and the piece had time to dry. I might add that I used the suggested pre-stain conditioner which claims to "soak in to the grain to provide uniform acceptance." Well, that sure doesn't look uniform to me, but I LOVE IT! And I'm pretty sure the uniform part would be if the top was all from one piece of wood. Anyways...

In the picture below you can partially see my utter catastrophe of a guest room that is currently home to all of my projects (in various stages). That's going to have to change really soon as mom is coming for a visit this next weekend. The pictures shows the pieces that came with the set and the color "pre" stain.

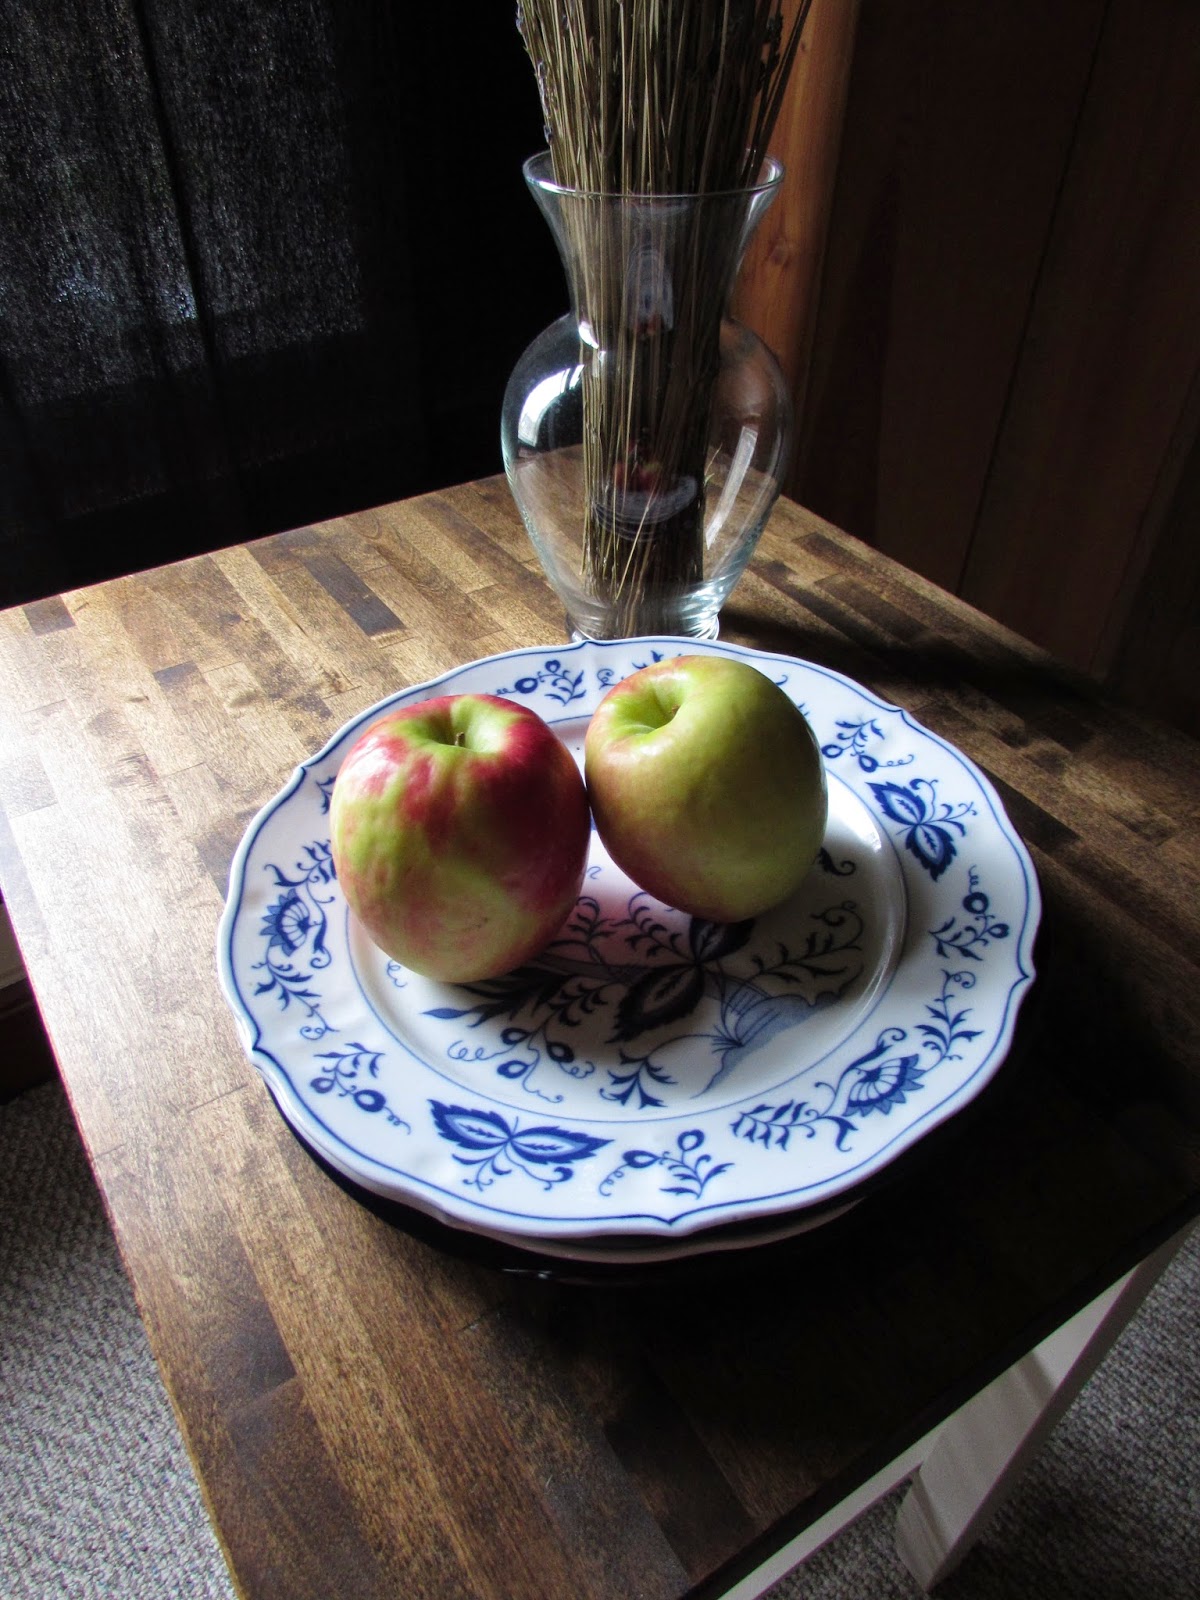
And below is the finished beauty. I was experimenting with natural light and attempting to make the photos look fancy. Fail! Learning photographic skills is definitely on my bucket list! But it at least gives you a good idea of the final product...right?!

I just love blue and white china! And below is a closer view of the finished top after waxing (a protective coat). So all the steps for the top piece were to pre-stain/condition it, stain it, apply hemp oil (probably unnecessary), and then apply Annie Sloan's Soft Wax (which apparently is toxic in comparison to Miss Mustard Seed's whose I believe is non-toxic). Yes, I definitely applied the wax indoors and luckily was wearing a mask, otherwise I would have gotten high off the fumes. I had to have the window open and fan on to clear out the chemical smell. And I know that most times this stuff is toxic, but I was thinking it was MMSMP wax and that is odorless and totally safe to use inside. Oh well, live and learn!
The next two pictures show the mediums used on the piece. The stain is Walnut and the chalk paint is Old White. I ordered some of Miss Mustard Seed's Milk Paint in the color "Curio" and will be attempting a stain with that on our dining room table. Her milk paint blog has a bunch of helpful tips for this procedure and it's so much less toxic than the method I chose. I'll definitely post my opinion when I finish that project!

 |
| Either wax or hemp oil are used to finish and protect milk paint. However, I used chalk paint for the base, so I used the companion wax. |
I hope I have inspired you to jump right in! I am starting to get excited about all the projects I have been putting off, because I "didn't know how." Well, I'm learning as I go and everyone has to do it at some point.
Here's a glimpse of another upcoming project:

This baby was half off at an antique shop in Denver as they were closing. I absolutely love the style and it came with a vanity mirror that attaches to the back. I can't wait to slap some milk paint on her!
Oh, and I borrowed a staple gun from a friend's dad's tool repertoire. That project involves a bulletin board, paint, and maybe some burlap.
Until next time...
Looks fabulous! And I like your styling of it...watch out MMS!!! xo
ReplyDeleteAw thanks mom! Xo
ReplyDelete